September 8, 2026
Setting Up Redis with Docker and Connecting It to the Redis for VS Code Extension
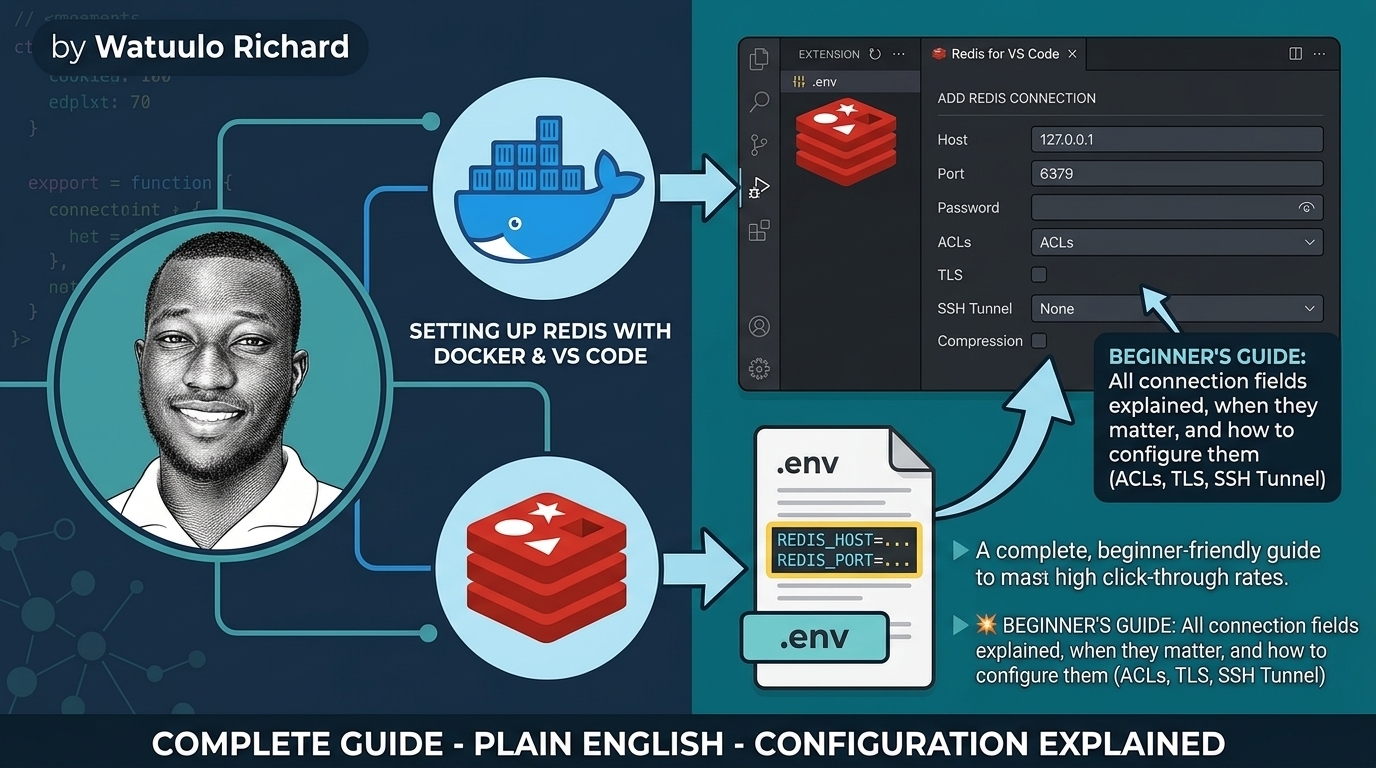
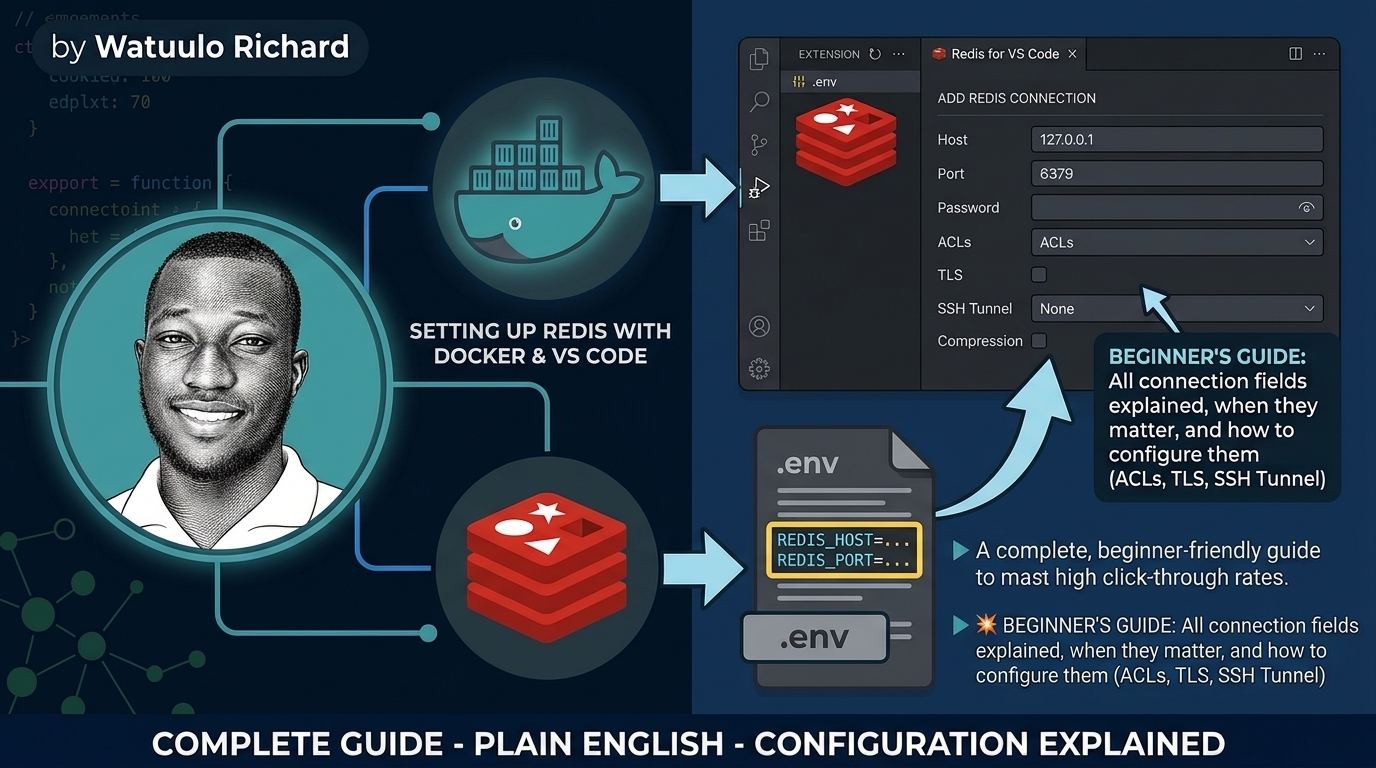
Reference: Redis for VS Code extension · Redis ACL docs · Redis TLS docs
This guide follows the same kind of setup used in this app: a Next.js project with Prisma, PostgreSQL, and Redis, all running through Docker Compose. It picks up right where the companion guide on Prisma seeding leaves off — you already have Postgres and Redis defined in
docker-compose.yml; this guide is about actually looking inside your Redis instance while you build.
backstory
Once Redis is running in Docker, it's a black box unless you go looking for a way in. You can't casually peek at what's cached, confirm a key was written, or clear a value while debugging — not without either writing throwaway code or dropping into redis-cli every time.
The Redis for VS Code extension fixes that: it gives you a visual tree of your keys, right inside your editor, next to the code that's writing to them. Setting it up takes two minutes. Understanding what each field on the connection form actually does takes a bit longer — and skipping that part is how people end up either leaving a database wide open, or checking boxes that quietly break their connection. This guide covers both.
what we are building
By the end, you will have:
docker-compose.yml     # defines the redis + postgres services
.env                    # holds REDIS_PASSWORD and REDIS_URL
And inside VS Code:
- Redis running locally in Docker, reachable on
127.0.0.1:6379 - The Redis for VS Code extension connected to it, showing a live key browser
- A clear understanding of every field on the "Add Redis database" form, so you don't guess next time
- A correct plan for what changes when you deploy to a VPS (this guide uses Dokploy as the example)
prerequisites
Before you start, make sure you have:
- Docker Desktop installed and running
- A
docker-compose.ymlwith aredisservice (see step 1) - The Redis for VS Code extension installed from the VS Code marketplace
- A
.envfile in your project root
step 1: define Redis in docker-compose.yml
Here's a standard Redis service definition, alongside Postgres:
# docker-compose.yml
version: '3.9'

services:
  postgres:
    image: postgres:16-alpine
    restart: unless-stopped
    environment:
      POSTGRES_USER: craftui
      POSTGRES_PASSWORD: ${POSTGRES_PASSWORD}
      POSTGRES_DB: craftui
    ports:
      - '5432:5432'
    volumes:
      - pgdata:/var/lib/postgresql/data
    healthcheck:
      test: ['CMD-SHELL', 'pg_isready -U craftui']
      interval: 5s
      timeout: 5s
      retries: 5

  redis:
    image: redis:7-alpine
    restart: unless-stopped
    command: redis-server --requirepass ${REDIS_PASSWORD} --appendonly yes
    ports:
      - '6379:6379'
    volumes:
      - redisdata:/data
    healthcheck:
      test: ['CMD', 'redis-cli', '-a', '${REDIS_PASSWORD}', 'ping']
      interval: 5s
      timeout: 5s
      retries: 5

volumes:
  pgdata:
  redisdata:
A few things worth understanding here, in plain English:
--requirepass ${REDIS_PASSWORD}— this is what locks your Redis behind a password. Without it, anyone who can reach port 6379 can read and write everything, no login needed.--appendonly yes— tells Redis to keep a log of every write on disk, so if the container restarts, your data survives instead of vanishing (Redis normally keeps everything in memory only).ports: - '6379:6379'— this exposes Redis on your machine's ownlocalhost:6379. On a VPS, this line is the one you'll want to remove later (more on that in the production section).
step 2: wire up your .env
# .env
POSTGRES_PASSWORD=WatuuloB54F20
REDIS_PASSWORD=WatuuloB54F20

DATABASE_URL="postgresql://craftui:WatuuloB54F20@localhost:5432/craftui"
REDIS_URL="redis://:WatuuloB54F20@localhost:6379"
Notice the shape of REDIS_URL: redis://:PASSWORD@HOST:PORT. There's no username before the colon — that's normal. Plain Redis auth (requirepass) only ever has one user, so there's nothing to name.
Treat this file the same way you'd treat a real password vault. If it ever ends up in a public repo, a screen recording, or a shared chat log, rotate every value in it — passwords, API keys, OAuth secrets — rather than leaving live credentials floating around.
Start the containers:
docker compose up -dYou should see both containers come up as Running in your terminal, and in Docker Desktop under Containers.
step 3: open the Redis for VS Code extension
Click the Redis icon in the VS Code activity bar. The first time, it shows an empty state: "No databases added." Click "+ Connect database."
This opens the Add Redis database form — the part most beginners stall on, because it has more fields than it needs for a simple local setup. Here's what each one means, and what to actually put in it.
step 4: fill in Host, Port, Alias, and Timeout
| Field | What it means | What to put |
|---|---|---|
| Host | The address where Redis is listening | 127.0.0.1 — this means "my own computer." Since your Redis container publishes its port to your machine, this is always correct for local Docker setups. |
| Port | Which door on that address to knock on | 6379 — Redis's default port, matching the left-hand side of '6379:6379' in your docker-compose.yml. |
| Database Alias | Just a label for you | Anything memorable, like craft-ui-local. It doesn't affect the connection at all — it's only how it's displayed in your sidebar. |
| Timeout (s) | How long VS Code waits before giving up on a connection attempt | The default (30) is fine for local Docker. You'd only raise this for a slow remote connection. |
step 5: fill in Username and Password
- Username — leave this blank. Plain
requirepassauth (what you set up in step 1) has no concept of named users, only a single shared password. You'd only fill this in if you had set up Redis ACLs (explained below), which create actual named accounts. - Password — enter the exact value of
REDIS_PASSWORDfrom your.env. This must match--requirepassin yourdocker-compose.ymlcommand, or the connection will be rejected.
why is there a Username field at all? (ACLs, explained simply)
ACL stands for Access Control List — Redis's permission system, similar in spirit to user accounts on a computer.
With plain requirepass (what this guide uses), there's exactly one account — called default — and it can do anything: read every key, delete every key, even wipe the whole database with a single command. The password is really just a lock on the front door; once you're in, there are no further restrictions.
ACLs let you create multiple named users, each with their own password and their own restrictions — for example, a user that can only run GET and SET, and only on keys starting with session:. If that user's credentials ever leaked, the damage is contained to exactly what it was allowed to touch.
Do you need this for local development? No. A single shared password is completely standard for local Docker setups — this is exactly what almost every tutorial and starter project does. ACLs become worth the extra setup once you have multiple services or people sharing one Redis instance, or once you're in production and want to limit the blast radius of a leaked credential. For now, leave Username blank and move on.
step 6: leave "Enable automatic data decompression" unchecked
This checkbox tells the extension: "some of the values in this database are compressed (gzip, zlib, etc.) — decompress them automatically before showing them to me."
If you check it, a second dropdown appears asking which compression format to decompress with — it defaults to "No decompression," which does nothing until you pick a real format.
Why it doesn't matter here: nothing in a typical Next.js + ioredis setup compresses data before writing it to Redis — you're storing plain strings and JSON. Checking this box just adds an extra dropdown with nothing to do. Leave it unchecked.
When it would matter: if you later decide to gzip large cached payloads yourself before calling redis.set(...) — a common trick to save memory on big JSON blobs — this checkbox becomes genuinely useful, since it lets you inspect the real content in the VS Code panel instead of a wall of compressed bytes.
step 7: leave "Use TLS" and "Use SSH Tunnel" unchecked (for now)
These two look intimidating, but they solve one specific problem each: protecting data that travels over a network you don't fully trust.
TLS (Transport Layer Security) encrypts everything sent between VS Code and Redis — the same idea as the padlock icon on a website (HTTPS vs HTTP). Without it, your password and data cross the wire in plain text.
SSH Tunnel routes your connection through an existing SSH session to a remote server, so Redis never has to be exposed to the open internet at all — you reach it through the server you already trust.
Why both stay unchecked for local development: your connection is 127.0.0.1 → 127.0.0.1 — it never leaves your own machine. There's no network in between to protect, because there isn't a network involved at all. Checking "Use TLS" here would actually break the connection, since your local Redis container isn't configured to speak TLS in the first place.
step 8: click "Add Redis Database"
If everything above is filled in correctly, the connection succeeds immediately — your container is already running and healthy, so there's nothing to wait on. You'll see your alias appear in the sidebar as a tree item, something like:
127.0.0.1:6379
  └── 0 (0 / 0)
That 0 (0 / 0) is your key count — it's supposed to be empty right now. Redis doesn't create keys on its own; it only stores what your application writes to it. Seeing 0 with no error means the connection itself is working correctly. Run your app and hit whichever code path calls redis.set(...), then refresh the tree — you should watch that count go up.
production: what actually changes on a VPS (using Dokploy as the example)
This is the part most guides skip, and it's exactly where TLS and SSH Tunnel stop being optional extras and start being the right call.
A common misconception is that a tool like Dokploy automatically secures Redis because it handles TLS for your web app's domain. It doesn't — that TLS certificate (via Traefik + Let's Encrypt) covers your HTTP traffic on your public domain, not Redis. Redis itself gets no automatic protection just because it's deployed through Dokploy.
Here's the setup that actually works well, and why:
- Don't publish Redis's port publicly. Remove
ports: - '6379:6379'from your productiondocker-compose.yml(or restrict it), so Redis is only reachable on the VPS's internal Docker network — reachable by your app container, but not by the open internet. - Use an SSH Tunnel when you need to inspect it. Since you already SSH into the VPS to manage it, the Redis for VS Code extension can tunnel a local port through that same SSH connection to reach Redis — without ever exposing port 6379 to the world.
- Skip TLS for Redis itself. Native Redis TLS requires generating and mounting certificates and enabling
--tls-port— real setup work that solves a problem (encrypting traffic across an open network) the SSH tunnel already solves by keeping Redis off the public internet entirely.
So on production: check "Use SSH Tunnel," leave TLS unchecked, and make sure the Redis port is never exposed publicly in the first place. That's simpler to set up than TLS and, for this use case, just as secure.
common errors and fixes
"Connection timed out" or "Connection refused"
Usually one of two things:
- The container isn't actually running — check
docker psor Docker Desktop's Containers tab. - If you're looking at a Docker Compose project group in Docker Desktop (not the individual container), click the
>chevron to expand it and confirm the actualrediscontainer shows a port mapping like0.0.0.0:6379->6379/tcp.
"NOAUTH Authentication required" or "WRONGPASS"
Your Password field doesn't match REDIS_PASSWORD in .env, or you left it blank while --requirepass is set in docker-compose.yml. Copy the exact value from your .env — no quotes, no extra spaces.
Port(s) column shows nothing at all in Docker Desktop
Your docker-compose.yml isn't publishing the port to the host. Add ports: - "6379:6379" under the redis service and run docker compose up -d again.
Checked "Use TLS" and now it won't connect
Your local Redis container isn't configured for TLS, so the extension is trying to speak a protocol Redis isn't listening for. Uncheck it — TLS is only for connections crossing an untrusted network, which a local 127.0.0.1 connection never does.
day-to-day commands
docker compose up -d              # start Redis + Postgres in the background
docker compose ps                 # confirm both containers are Running
docker compose logs -f redis      # tail Redis's own logs
docker compose exec redis redis-cli -a $REDIS_PASSWORD ping   # should reply PONG
final checklist
Use this checklist when setting up Redis for local development:
- Add a
redisservice todocker-compose.ymlwith--requirepassand a published port - Add
REDIS_PASSWORDandREDIS_URLto.env - Run
docker compose up -dand confirm the container isRunning - Install the Redis for VS Code extension
- Fill in Host (
127.0.0.1), Port (6379), and Password (from.env) - Leave Username blank unless you've set up ACLs
- Leave "Enable automatic data decompression" unchecked unless you're compressing values yourself
- Leave TLS and SSH Tunnel unchecked for local connections
- Confirm the sidebar shows your alias with a
0key count and no error - Before deploying: stop publishing Redis's port publicly, and plan to connect via SSH Tunnel instead
conclusion
The clean mental model is:
docker-compose.yml + .env
        │
        ├─ REDIS_PASSWORD  →  the one thing requirepass actually checks
        ├─ 127.0.0.1:6379  →  reachable only because your own machine published that port
        └─ Redis for VS Code  →  a window into the same instance your app is writing to
                                              │
                          production ─────────┘ (port stays private, SSH Tunnel replaces TLS)
Every field on that connection form exists to answer one question: is this connection trustworthy enough as-is, or does it need extra protection? On 127.0.0.1, the answer is always "as-is" — there's no network to protect it from. The moment Redis lives on a server you reach over the internet, that answer flips, and an SSH Tunnel (or TLS, if you've set it up) stops being optional.
resources
- Redis for VS Code extension
- Redis ACL documentation
- Redis TLS/SSL documentation
- Redis persistence (appendonly) documentation
- Dokploy documentation