September 7, 2026
Create and Run a Prisma Seed File — Local Postgres, Neon, and VPS
Reference: Prisma seed docs · Neon docs · Prisma Migrate docs
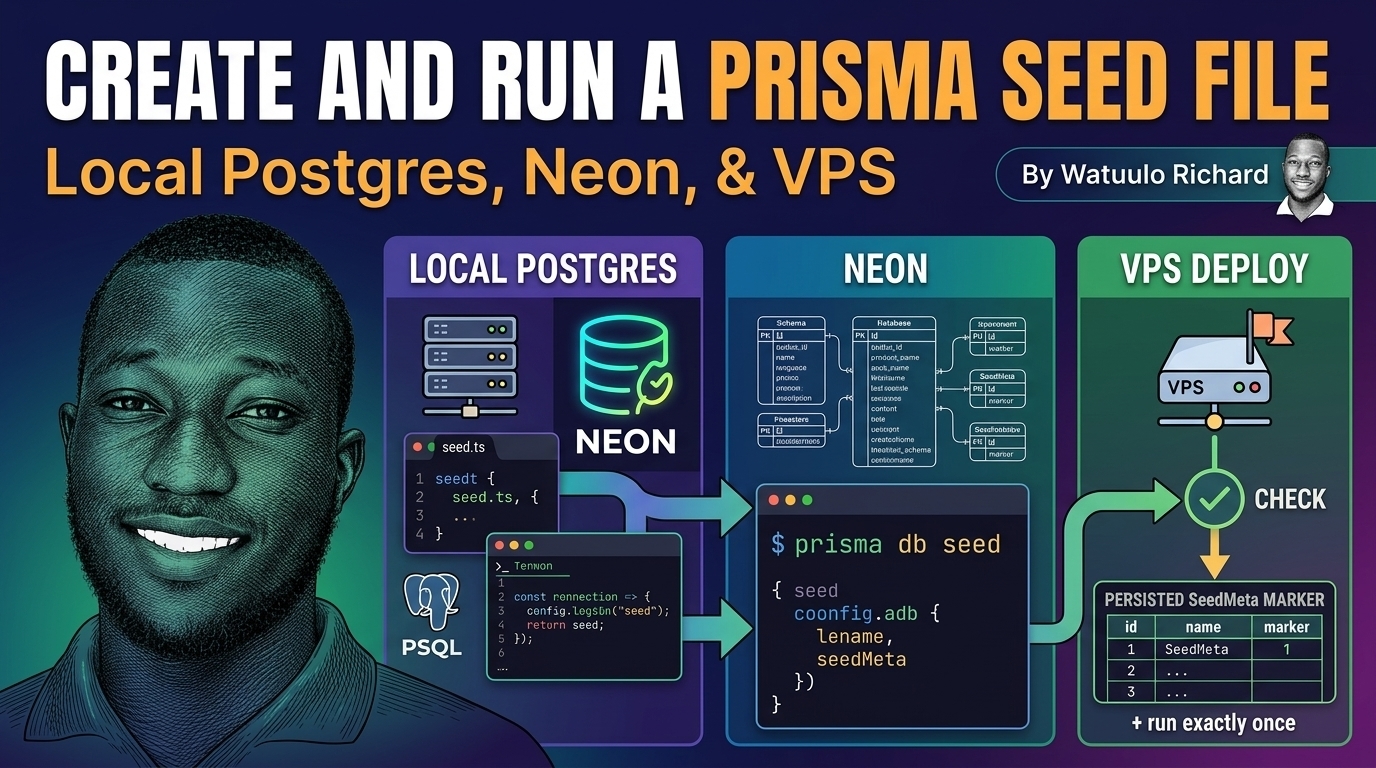
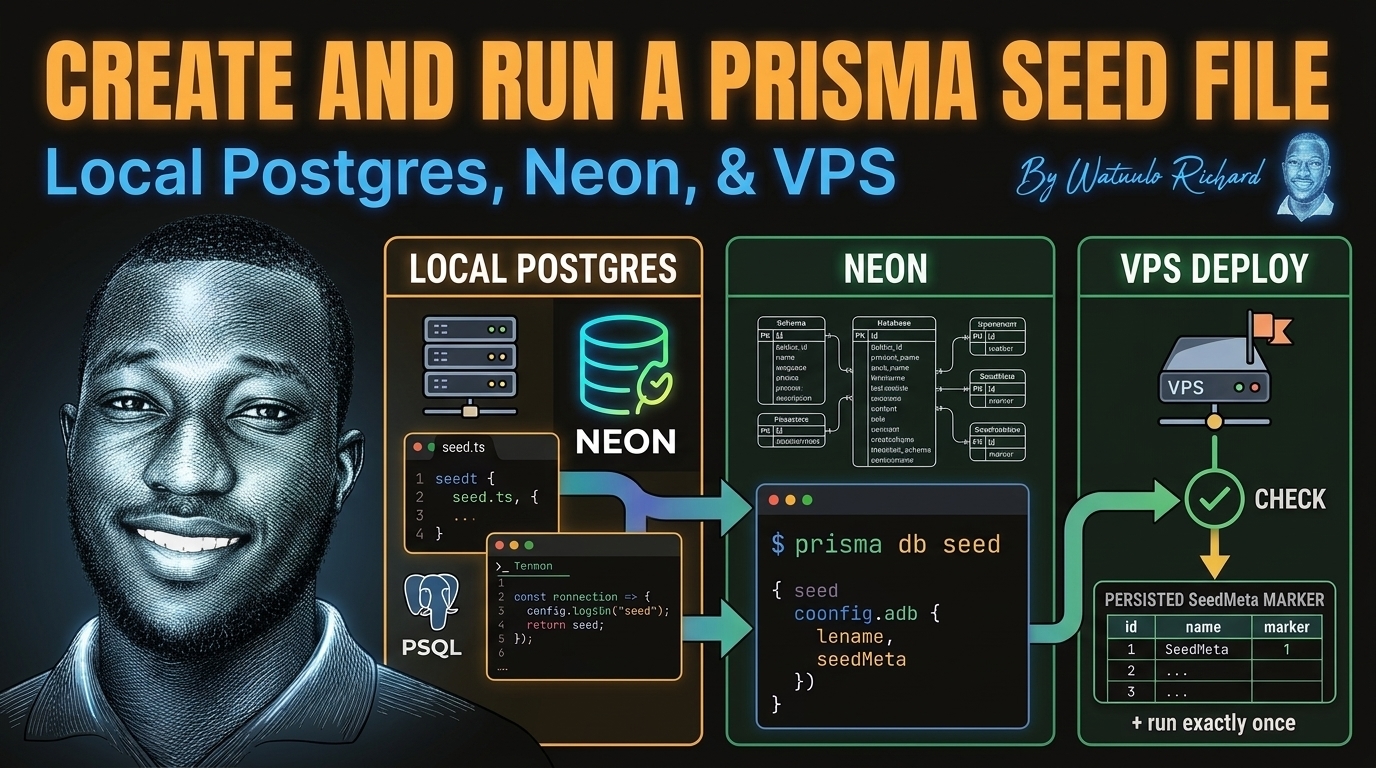
This guide follows the same kind of setup used in this app: Next.js App Router, TypeScript, Prisma ORM, and a PostgreSQL database. Your seed file works the same everywhere, the only thing that changes is where
DATABASE_URLpoints.
backstory
I wanted a way to fill my database with realistic sample data for development and demos, instead of creating records by hand every time I reset the database.
Prisma gives us a feature called seeding, a script that runs once and creates all the starting data your app needs: schools, users, students, fixtures, and so on.
Seeding is easy on your own machine. The tricky part is production: when you push changes to GitHub, your VPS rebuilds your container and starts the app. You want it to seed the database, but only once. you never want it to wipe and refill a database that already has real registrations in it.
The good news is there is a clean, simple answer, and this guide walks you through it from start to finish.
what we are building
By the end, you will have:
prisma/
  schema.prisma
  seed.ts
  migrations/
    20260907000000_add_seed_meta/
      migration.sql
    20260907000001_fix_seed_meta_seeded_at_column/   # only if you hit the column-name drift
      migration.sql
package.json          # has the db:seed script
Dockerfile             # runs db:seed on startup
And you'll be able to seed:
- A local Postgres running on your machine (or in Docker).
- A Neon hosted Postgres (the free serverless option).
- Your VPS production database — automatically, once, on every deploy.
prerequisites
Before you start, make sure you have:
- A Next.js project with Prisma installed (
pnpm add -D prisma @prisma/client) - A PostgreSQL database you can reach — local Postgres or a Neon project
tsxinstalled (it runs TypeScript files directly):pnpm add -D tsx- Node.js 18 or newer
Check tsx is ready:
pnpm exec tsx --versionIf that prints a version number, you're ready.
step 1: understand the three pieces
Seeding in Prisma is really three small things working together:
- The seed file -
prisma/seed.ts. This is a normal script that uses the Prisma client to create records. - The seed script - a line in
package.jsonthat tells Prisma (and you) how to run that file. - The database connection - read from
DATABASE_URLin your.env. Wherever that points, that's which database gets seeded.
For production, Prisma reads the connection URL from
prisma.config.ts. In this app,prisma.config.tsalready importsdatabaseUrlfromlib/env.ts, so the sameDATABASE_URLis used everywhere - local, Neon, and VPS.
step 2: add the seed script to package.json
Open package.json and add a db:seed script next to your other Prisma scripts:
"scripts": {
  "db:generate": "prisma generate",
  "db:migrate": "prisma migrate dev",
  "db:migrate:deploy": "prisma migrate deploy",
  "db:seed": "tsx prisma/seed.ts"
}
That's it. Now both you and Prisma can run the seed with one command:
pnpm db:seed
tsxruns the TypeScript file directly, so you never have to compile the seed separately.
step 3: create your first seed file
Create prisma/seed.ts. Start with something small and simple:
import { PrismaClient } from "@prisma/client";

const prisma = new PrismaClient();

async function main() {
  const school = await prisma.school.create({
    data: {
      name: "Makerere University",
      district: "Kampala",
      region: "Central",
    },
  });

  console.log(`Created school: ${school.name} (${school.id})`);
}

main()
  .catch((e) => {
    console.error(e);
    process.exit(1);
  })
  .finally(async () => {
    await prisma.$disconnect();
  });
Three parts to notice:
main()- does the actual work. You can write loops, usecreateMany, or call your models however you like..catch(...)- if anything fails, it prints the error and exits with a non-zero code so the pipeline knows something went wrong..finally(...)- always closes the database connection, whether it succeeded or failed.
step 4: seed your local Postgres
Make sure .env points at your local database:
DATABASE_URL="postgresql://your_user:your_password@localhost:5432/your_db"If you run Postgres inside Docker (see the companion guide on setting up Postgres and Redis with Docker), your URL is the localhost link above — same as any normal Postgres.
Make sure the tables exist first (a seed writes into tables, so they must be created):
pnpm db:migrateThen run the seed:
pnpm db:seedYou should see:
Created school: Makerere University (cm...)To double-check, look at the data directly in psql:
docker compose exec postgres psql -U your_user -d your_db -c "SELECT id, name FROM school;"step 5: seed Neon (the hosted Postgres)
Neon is a serverless Postgres — a database "in the cloud" that free-tier users commonly use. Seeding it is identical to local Postgres. You only swap DATABASE_URL.
- Create a project in the Neon console.
- Copy the connection string it gives you. It looks like this (note the
neon.techhost — that's the signal you're talking to a hosted Postgres):
DATABASE_URL="postgresql://user:password@ep-xxx-xxx.us-east-2.aws.neon.tech/neondb?sslmode=require"- Point your
.envat Neon:
DATABASE_URL="postgresql://user:password@ep-xxx-xxx.us-east-2.aws.neon.tech/neondb?sslmode=require"- Run your migrations so Neon has the same tables:
pnpm db:migrate- Seed it:
pnpm db:seed- Open Neon's SQL editor (or
psql) and check the row is there:
SELECT id, name FROM school;Important: when you seed Neon, you're seeding a real hosted database. Make sure you actually want the data there before you run it - a destructive seed (one that wipes first) will erase everything in it.
step 6: the VPS problem - why "just seed on startup" is not enough
On your machine, seeding is easy: you run pnpm db:seed whenever you want.
On a VPS it's different, because of two facts:
- Containers are temporary. Every deploy builds a new container from scratch. A file you create inside a container (like a
.seededmarker file) disappears on the next deploy. - The database is permanent. It survives every deploy - that's where your real data lives.
So if you simply put "run the seed" in the container startup command, every redeploy would run it again. And if your seed wipes the database first (many do, for clean demo data), that is a disaster: it would delete real registrations and start over.
The clean solution: put the "have I seeded already?" marker inside the database itself. The database is the one thing that's guaranteed to still be there next deploy. If the marker is present, skip the seed. If it's missing, run the seed and write the marker.
That is exactly how prisma migrate deploy already behaves, it only applies migrations that aren't recorded yet in the database. We borrow the same idea for seeding.
step 7: add the SeedMeta marker table
Before the seed can save a marker, the table that holds it must exist. Add this model to prisma/schema.prisma:
// ============================================================================
// SEED META - persisted marker so the seed script runs exactly once per
// environment. Lives in the database (the only thing that survives
// container redeploys), checked before any seed logic executes.
// ============================================================================

model SeedMeta {
  id       String   @id @default(cuid())
  key      String   @unique
  seededAt DateTime @default(now())

  @@map("seed_meta")
}
What each line does:
id- each marker row gets its own unique id.key- a name for the marker, likefutisa-2027-demo-v1(the@uniquemeans only one row per key - this is what stops the seed from running twice).seededAt- records when the seed finished.
step 8: create the migration
A new model needs a new migration so the table is actually created. On your machine, run this — it will create the migration file, apply it to your local database, and make seed_meta exist:
pnpm db:migrate --name add_seed_metaPrisma creates a new folder in prisma/migrations/ containing a migration.sql, roughly like this:
-- CreateTable
CREATE TABLE "seed_meta" (
    "id" TEXT NOT NULL,
    "key" TEXT NOT NULL,
    "seededAt" TIMESTAMP(3) NOT NULL DEFAULT CURRENT_TIMESTAMP,
    CONSTRAINT "seed_meta_pkey" PRIMARY KEY ("id")
);

-- CreateIndex
CREATE UNIQUE INDEX "seed_meta_key_key" ON "seed_meta"("key");
Commit this migration to git. When the VPS runs prisma migrate deploy, it will create the seed_meta table there too — automatically, before the seed ever runs.
Column naming gotcha (this one breaks production). Prisma names columns exactly the same as the field in your schema — so
seededAtbecomes a column literally calledseededAt, notseeded_at. Only the table name is controllable (via@@map("seed_meta")). Always letpnpm db:migrategenerate the SQL for you. If you ever hand-write a migration, copy the field names verbatim — a hand-writtenseeded_atcolumn will make the generated client fail on production withThe column seed_meta.seededAt does not existthe very first time the seed runs.
Never run
prisma migrate resetordb pushon a production database — commands like these drop or rewrite tables.migrate deployonly ever adds what's missing, which is exactly what we want on a VPS.
step 9: guard your seed file
Now update prisma/seed.ts so it checks the marker before doing anything. Add these two small functions near the top:
const SEED_KEY = "futisa-2027-demo-v1";

async function alreadySeeded(): Promise<boolean> {
  const marker = await prisma.seedMeta.findUnique({ where: { key: SEED_KEY } });
  return marker !== null;
}

async function markSeeded() {
  try {
    await prisma.seedMeta.create({ data: { key: SEED_KEY } });
  } catch (err: any) {
    if (err?.code !== "P2002") throw err; // P2002 = another process already wrote it, harmless
  }
}
Then, still inside prisma/seed.ts, wrap your main() function so the guard runs first and the marker gets written last:
async function main() {
  if (await alreadySeeded()) {
    console.log(`Seed "${SEED_KEY}" already applied — skipping.`);
    return;
  }

  console.log("Seeding the database…");

  // ...your seeding logic goes here...

  await markSeeded();
  console.log("Seed complete ✅");
}
This gives you three important safety properties:
- It only runs once. After the first successful run, every later run hits
alreadySeeded(), sees the marker, and stops. - A crashed seed retries. If the seed fails halfway (database connection drops, etc.), the marker is never written, so the next deploy simply tries again cleanly — you never end up half-seeded.
- Real data is never wiped. If your seed starts with a
clearDatabase()wipe, that wipe can only ever run against a database that has never been seeded before. Once real registrations exist, no code path can erase them.
The small try/catch around markSeeded() handles one edge case: if two containers both pass the check at the same instant, both try to write the marker. Postgres only lets one succeed (the @unique on key), and the other gets error P2002 — which we simply ignore. Worst case, you see a harmless skipped message.
SEED_KEYis your re-seed control. If you deliberately want to refill the database later, bump it to something new (e.g.futisa-2027-demo-v2). That's the only change you need to force a fresh seed.
step 10: wire the seed into your Dockerfile
Your Dockerfile's final stage ("runner") starts the app with a CMD. Add pnpm db:seed between the migration step and the app start:
CMD ["sh", "-c", "pnpm db:migrate:deploy && pnpm db:seed && pnpm start"]On every container start, the sequence is:
pnpm db:migrate:deploy— applies any new migrations (createsseed_metathe first time).pnpm db:seed— checks the seed marker. First deploy: seeds, then writes the marker. Every deploy after: one quick read, prints "already applied — skipping", moves on.pnpm start— starts the app normally.
The check is so cheap it's pointless to add a special flag — it's just a single database lookup.
step 11: deploy and verify
Push your changes to GitHub:
git add prisma/seed.ts prisma/schema.prisma prisma/migrations package.json Dockerfile
git commit -m "feat: seed database once on deploy using persisted marker"
git push origin main
Your VPS will detect the new commit, rebuild, and restart. Watch the container logs to confirm the sequence:
docker compose logs -f webYou should see something like:
prisma migrate deploy  →  migrations applied (adds seed_meta on first run)
Seeding the database…  →  your seeded records
Seed complete ✅
[server] ready on http://localhost:3000
Now redeploy (push another commit, or restart the app). This time the logs should show:
Seed "futisa-2027-demo-v1" already applied — skipping.That's the whole system working: the seed ran once, and every later deploy skips it.
common errors and fixes
Property 'seedMeta' does not exist on type 'PrismaClient'
You added the model to the schema but the Prisma client is stale. Regenerate it:
pnpm db:generateTable "public.seed_meta" does not exist when seeding
The migration hasn't run yet on the database you're seeding. Run it first:
pnpm db:migrate:deployThe column seed_meta.seededAt does not exist (error P2022)
This is the column-name drift from step 8: the table exists, but its column was created with a different name (seeded_at) than the schema field (seededAt). It usually means a migration was hand-written with snake_case instead of letting prisma migrate dev generate it.
Fix it with a new migration that renames the column — never edit a migration that has already been applied, because migrate deploy checks a digest of each applied migration and will refuse to run if it sees a changed file:
pnpm db:migrate --create-only --name fix_seed_meta_seeded_at_columnThen put this SQL in the generated file (the DO block makes it safe to also run on databases where the column is already correct):
DO $$
BEGIN
  IF EXISTS (
    SELECT 1 FROM information_schema.columns
    WHERE table_name = 'seed_meta' AND column_name = 'seeded_at'
  ) AND NOT EXISTS (
    SELECT 1 FROM information_schema.columns
    WHERE table_name = 'seed_meta' AND column_name = 'seededAt'
  ) THEN
    ALTER TABLE "seed_meta" RENAME COLUMN "seeded_at" TO "seededAt";
  END IF;
END $$;
Apply it with pnpm db:migrate:deploy, commit it, and push — the next deploy runs the rename before the seed.
Seed still runs again on every deploy
The marker was never written. Usually this means the seed failed partway through (so markSeeded() was never reached). Check the container logs for the real error. Once the seed completes successfully, later deploys will skip it.
Password breaks DATABASE_URL
If your database password contains @, :, /, #, or ?, the connection string won't parse. Pick a password without special characters, or percent-encode them in the URL only.
I changed my mind — I want to force a fresh seed
Bump SEED_KEY in prisma/seed.ts to a new value, then redeploy. The old marker no longer matches, so the seed runs again (and starts by wiping, if that's what your seed does).
day-to-day commands
pnpm db:seed                       # seed the database (safe to run anytime — skips if already seeded)
pnpm db:generate                   # regenerate the Prisma client after schema changes
pnpm db:migrate                    # local: create + apply a migration
pnpm db:migrate:deploy             # prod: apply only what's missing (never drops data)
pnpm db:migrate --name add_thing   # create a named migration
final checklist
Use this checklist when setting up Prisma seeding:
- Add
tsxas a devDependency - Add
db:seedtopackage.json - Create
prisma/seed.tswithmain(),.catch(), and.finally() - Point
.envat your local Postgres and runpnpm db:seed - Switch
.envto Neon and seed that too - Add the
SeedMetamodel toprisma/schema.prisma - Create the migration with
prisma migrate devand commit it - Verify the migration SQL uses the exact field name (
seededAt), not snake_case - Guard
seed.tswithalreadySeeded()/markSeeded() - Add
pnpm db:seedto the DockerfileCMD - Deploy and confirm "Seed complete" once, then "already applied — skipping" after
- Bump
SEED_KEYif you ever need a deliberate re-seed
conclusion
The clean mental model is:
prisma/schema.prisma + prisma/seed.ts + package.json db:seed
        │
        ├─ DATABASE_URL = localhost  →  seed your local Postgres
        ├─ DATABASE_URL = neon.tech  →  seed your hosted Neon Postgres
        └─ VPS container startup     →  migrate deploy → db:seed → start
                                              │
                          seed_meta marker ────┘ (runs exactly once)
Seeding the same file against all three destinations is the payoff of keeping the seed logic in one place and only ever changing what DATABASE_URL points to.
And the one rule to never break in production:
Your seed may wipe the database freely — but only ever touch a database that has never been seeded before. The
SeedMetamarker is what guarantees that, deploy after deploy.
That single table is the difference between demo data you can reset anytime and a production database you never accidentally delete.
resources
- Prisma seeding documentation
- Prisma Migrate overview
- Neon documentation
- PostgreSQL connection strings
- tsx — run TypeScript files directly